0

Out of 0 Ratings

Owner's of the A.O. Smith Boiler 2600 gave it a score of 0 out of 5. Here's how the scores stacked up:
  • Reliability

    0 out of 5
  • Durability

    0 out of 5
  • Maintenance

    0 out of 5
  • Performance

    0 out of 5
  • Ease of Use

    0 out of 5
of 83
 
78
1. Turn off the electrical power, and manual gas shut-off.
• Allow boiler parts to cool before disassembly.
2. Remove the vent pipe.
Check parts and chimney for obstructions and clean as
necessary.
3. Remove burner from boiler and other metal parts as required
to clean as necessary.
Refer to parts list for disassembly aid.
4. Clean and reinstall the parts removed in steps 2 and 3.
Be sure the vent pipe has a minimum upward pitch of 1/4"
per foot (2 cm/m) of length and is sealed as necessary.
5. Restore electrical power and gas supply to boiler.
Check for gas leaks and proper boiler and vent operation.
HEAT EXCHANGER MAINTENANCE
1. Shut down the boiler:
Turn Off gas to the boiler.
Do not drain the boiler unless it will be exposed to
freezing temperatures. If using freeze prevention uid in
system, do not drain.
2. Ensure the boiler cools down to room temperature.
3. Remove the nuts securing the heat exchanger access cover
to the heat exchanger and set aside.
4. Remove the heat exchanger access cover, burner, and gas
train assembly.
Note: The boiler contains ceramic ber materials. Failure to
comply could result in severe personal injury.
5. Remove the condensate hose from the heat exchanger end.
Connect a eld supplied 3/4" diameter hose to a drain pan.
6. Use a vacuum cleaner to remove any deposits/ debris on the
boiler heating surfaces. Do not use any solvent.
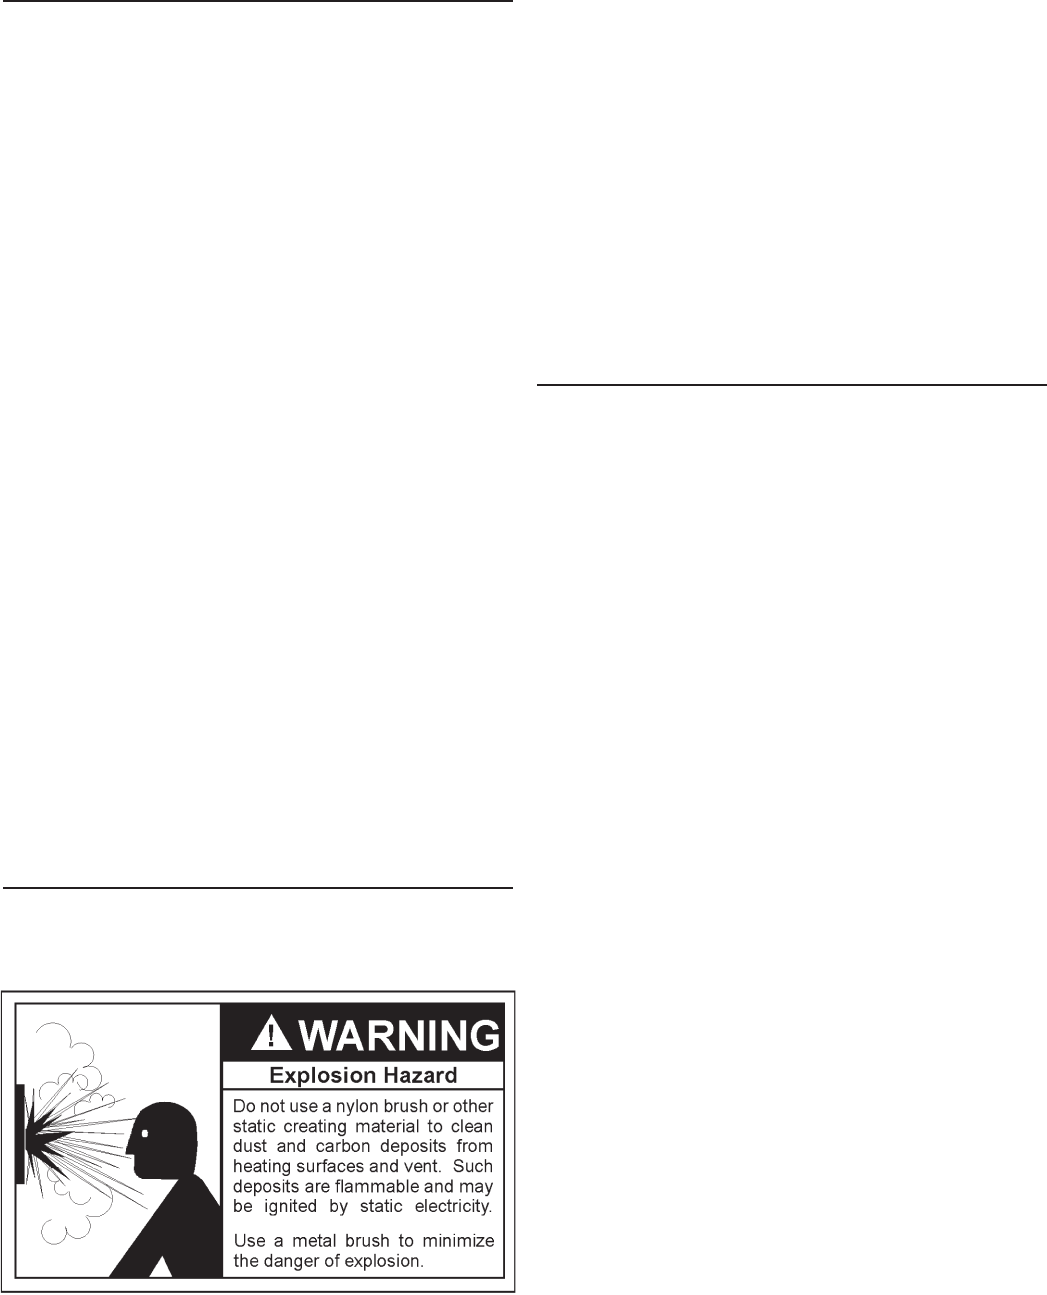
7. Brush the heat exchanger while dry using a nylon bristle
brush. Re-vacuum the heat exchanger.
8. Finish cleaning using a clean cloth dampened with warm
water. Rinse out debris with a low pressure water supply.
9. Allow the heat exchanger to dry completely.
10. Remove the rear refractory cover from the back of the
combustion chamber of the heat exchanger and reassemble.
11. Close isolation valves on piping to isolate the boiler from
system. Attach a hose to the boiler drain and ush boiler
thoroughly with clean water by using purging valves to allow
water to ow through the water make-up line to the boiler.
12. Replace the access cover and restore the boiler for operation.
CONDENSATE REMOVAL SYSTEM
Due to the highly efficient operation of this unit, condensate
is formed during operation and must be removed by the
conden sate drain systems. Inspect the condensate drains
and tubes at least once a month and insure they will allow
the free flow of condensate at all times. The system must
be inspected more frequently in cold weather if the drain
system is located in an area, such as along the floor, where
freezing tempera tures are likely to occur. The conden sate
drain system must be protected against freezing. Contact a
qualified service agent to inspect and correct the condition if
freezing of the conden sate lines is a problem.
The transparent drain lines and condensate drain on the bottom
of the vent collector should be visually inspected at one month
intervals for blockage, particularly in the areas of the loops in the
lines which trap a small amount of conden sate, and the exit point
of the vent collector drain. Conden sate in portions of the line
other than the loop area indicates a blockage in the drain line.
Flush the lines with air or water and clear or replace the blocked
portions of the line as necessary. Note that areas of the drain
line which include a sag or low spot in the line will also form a
condensate trap which can be removed by levelling the tube and
does not indicate a blocked system.
Inspect the metal vent drain and vent collector drain connectors
at six month inter vals. Remove the hoses from the connections,
then check with a small wooden dowel or plastic rod passed
up through the metal con nection to insure the passage is clear,
using caution to not bend or damage the connector. Call a
qualied service agent to inspect and correct the problem if any
obstructions are found in the connectors. Replace all hoses and
clamps immediately after inspec tion and before starting the boiler
in accordance with the Lighting and Operating Instructions. Do not
operate the boiler unless all condensate drain lines are properly
connected and working. When a means to neutralize condensate
has been installed you must also follow operating, inspection and
maintenance procedures specied by the manufacturer of the
product. Inspect the installed device to insure that it does not
cause condensate to remain in the boiler or vent for any reason.
VENTING MAINTENANCE
It is recommended that the intake and exhaust piping of the
boiler be checked every 6 months for dust, condensate leakage,
deterioration and carbon deposits.
Qualied service agent should follow this procedure when the
boiler’s intake and exhaust piping need cleaning: